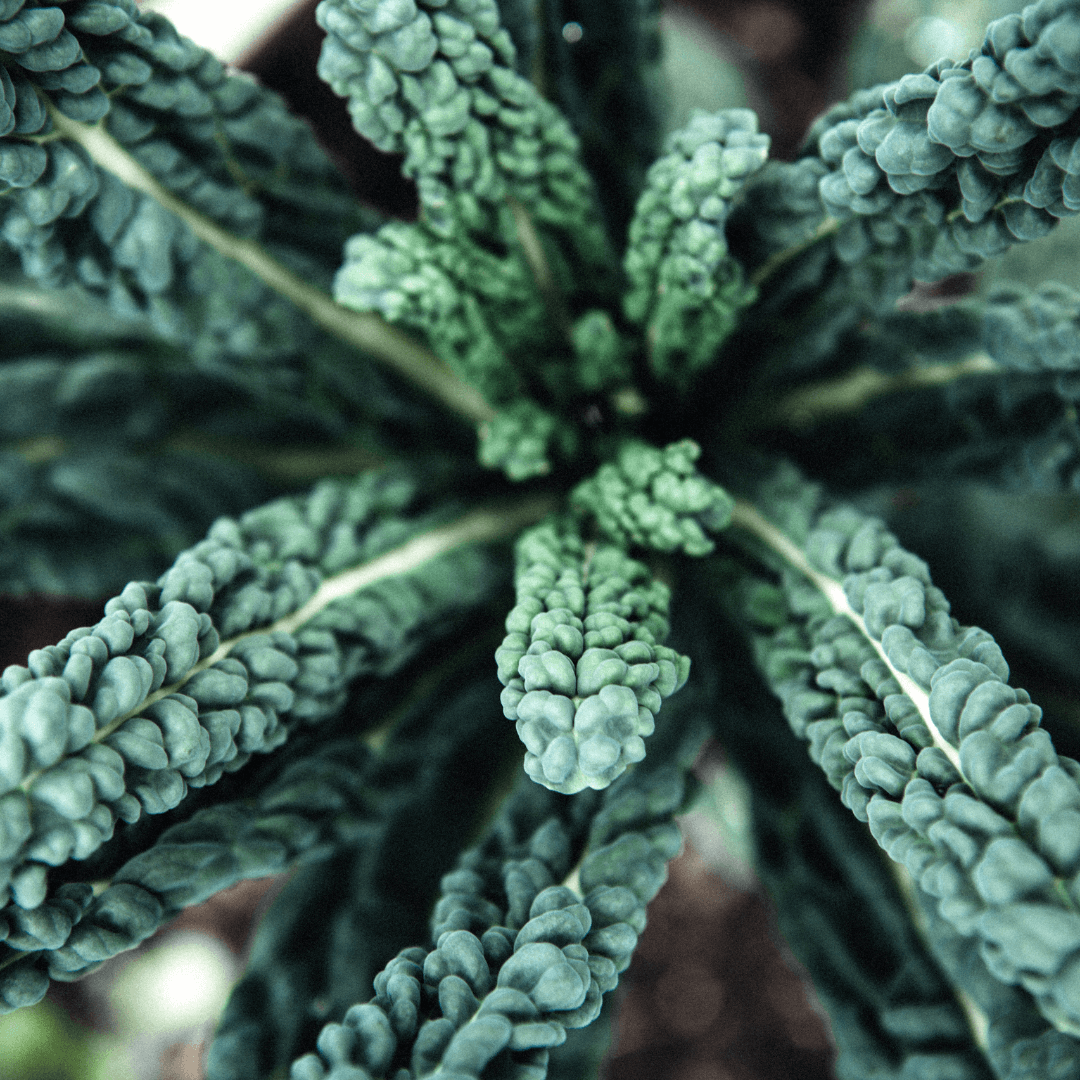

Introduction
Are you tired of buying kale from the grocery store only to find it wilted and tasteless? Are you limited on space in your backyard but still want to enjoy fresh produce? Then, have no fear - growing kale in containers is the solution you've been searching for! In this article, I will share my opinion on how to grow kale in containers.
The Benefits of Growing Kale in Containers
First and foremost, growing kale seeds in containers saves space. No more worrying about finding a spot for your vegetable garden or competing with other plants for nutrients.
You can easily place your container wherever it fits best without any hassle. Another benefit is having fresh produce readily available.
There's nothing quite like picking fresh kale from your garden and using it in a delicious recipe immediately. Plus, store-bought produce often lacks the same nutrients as home-grown fruits and vegetables, so growing your own is convenient and healthier.
And let's not forget about the satisfaction of growing your own food. It is rewarding to see your hard work come to life, but you also control how the kale is grown and what chemicals are used (if any).
Furthermore, container gardening allows for more flexibility in terms of weather conditions. If you live in an area where harsh winters make outdoor gardening impossible or difficult, you can simply move your container indoors without missing a beat.
Growing kale in containers allows for easier maintenance and monitoring of plant health. With a smaller area to tend to, it's easier to keep track of watering schedules and identify any issues that may arise.
There are numerous benefits to growing kale in containers that make it an excellent option for those looking for fresh produce without taking up too much space or requiring extensive maintenance. Stay tuned as we dive deeper into how to successfully grow kale in containers.
Vates Blue Curled Scotch Kale Seeds
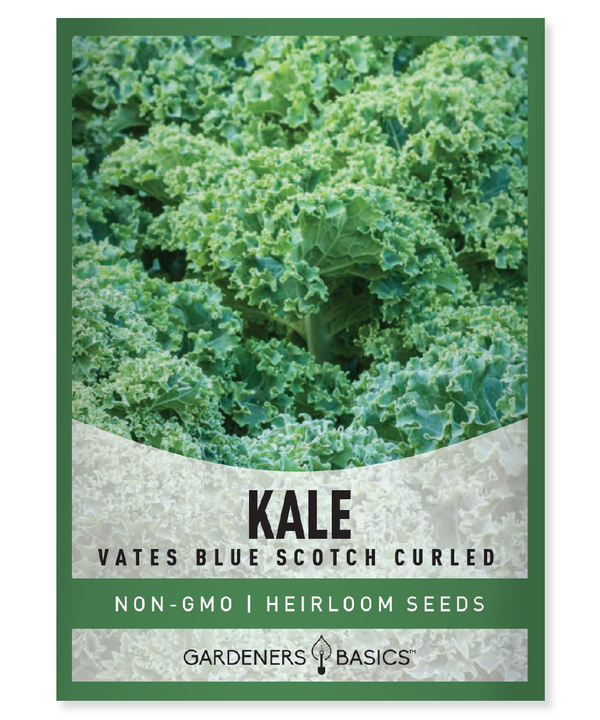
$2.49
Vates Blue Scotch Curled Kale Seeds - Heirloom, Non-GMO, Non-Hybrid, Open-Pollinated Grow a nutritious and vibrant garden with our Vates Blue Curled Scotch Kale seeds, a top choice for home gardeners and market growers alike. This hardy, cold-tolerant kale variety… read more
Choosing the Right Container
Pots, Grow Bags, and Raised Beds - Which One to Choose
Are you tired of your kale plants taking over every inch of available space in your garden? Fear not!
You can grow your favorite leafy greens with containers without sacrificing precious real estate. But with so many options available, how do you choose the right container for growing kale?
First up are pots. These classic containers are popular for growing everything from herbs to vegetables.
They come in all shapes and sizes, making them versatile for any space. The downside is that pots may dry out quicker than other container options since they have less soil volume.
If you're going with pots, choose ones with drainage holes to avoid waterlogged soil. Next on the list are grow bags.
These lightweight fabric bags have become increasingly popular for container gardening due to their portability and affordability. They come in various sizes and can be reused yearly if adequately cared for.
However, place them on a solid surface as they tend to tip over when filled with soil. Raised beds offer an excellent solution for growing kale in containers without worrying about bending down or kneeling on the ground.
They also provide better drainage than traditional pots or grow bags, allowing for better root growth due to the deeper soil depth. Remember that raised beds may require more initial investment than other options due to the materials needed.
Selecting the Right Container Size
Regarding container size, bigger isn't always better - at least not when growing kale. While it's true that larger containers provide more room for root growth and retain moisture better, kale doesn't require much space since its roots only go down about 6-8 inches deep. A good rule of thumb is 1 plant per 5-gallon container or 2-3 plants per 10-gallon container.
This allows for adequate root growth space while ensuring the kale plants aren't overcrowded. Overcrowding can lead to poor air circulation, which can cause disease issues or stunted growth.
Opt for smaller containers or grow bags if you're short on space. These are perfect for growing kale on balconies, patios, or indoors near a sunny window.
Ensure the containers are at least 8 inches deep to accommodate the roots. Choosing the correct container is crucial for successfully growing kale in containers.
Whether you opt for pots, grow bags, or raised beds, select the appropriate size based on your needs and available space. You'll harvest fresh kale quickly with the right container and proper care!
Dwarf Siberian Improved Kale Seeds
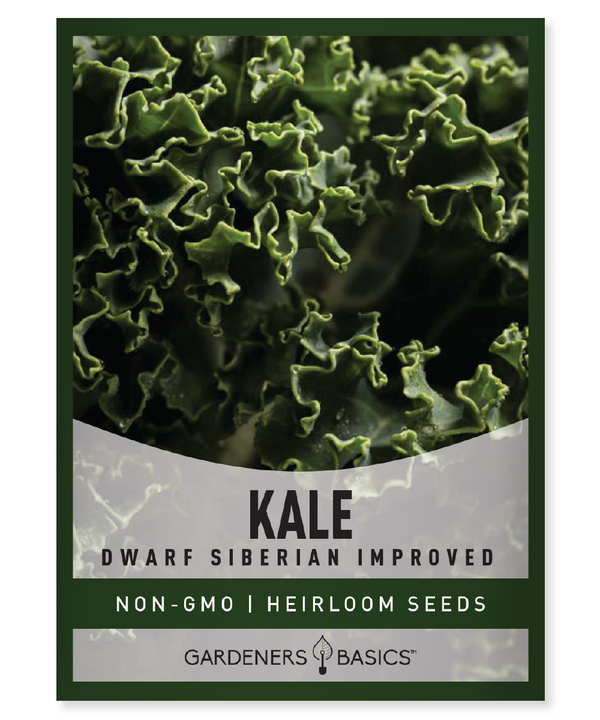
$2.49
Dwarf Siberian Improved Kale Seeds - Heirloom, Non-GMO, Non-Hybrid, Open-Pollinated | Easy-to-Grow Cold-Hardy Kale for Year-Round Gardening Grow your own nutritious and delicious Dwarf Siberian Improved Kale with our premium-quality, heirloom, non-GMO, non-hybrid, and open-pollinated seeds! This improved variety of… read more
Preparing Soil Mix for Kale Containers
The Importance of a Good Soil Mix
When it comes to growing kale in containers, the soil you use is arguably the most important factor in determining whether your plants will thrive or struggle. A good soil mix that is well-draining and nutrient-rich can work wonders for your kale, while poor-quality soil can quickly lead to stunted growth and disease.
Making Your Own Soil Mix
I highly recommend mixing your soil to ensure your kale plants have the best possible start. The key elements of a good soil mix are good drainage and proper nutrients.
You should aim for a mixture of 50% high-quality potting soil and 50% organic matter to achieve this. Organic matter can be anything from composted leaves or kitchen scraps to worm castings or aged manure.
It's important to note that not all organic matter is created equal - some may contain weed seeds or pathogens that could harm your plants. So be sure to use organic matter from a trusted source.
Improving Soil Quality with Compost
Compost is an excellent choice for improving soil quality in your kale containers. Not only does it add nutrients to the soil, but it also helps with water retention and drainage. You can purchase bags of compost at most garden centers or make your own by collecting kitchen scraps such as vegetable peels, coffee grounds, and eggshells in a compost bin.
Once the material has decomposed into a rich humus-like substance, it can be added to your container soils. I like using compost made from vermicomposting (worms) since they are known for producing one of the richest forms of hummus fertilizer available on earth due to their ability to break down complex substances into simpler forms which makes it easier for plant roots to absorb.
Using Fertilizers in Your Soil Mix
Consider adding a slow-release fertilizer to your soil mix to boost your kale plants. The best container gardening fertilizers provide balanced nitrogen, phosphorus, and potassium nutrients.
One option is to use an organic fertilizer such as fish emulsion, available at most garden centers and can be mixed with water according to the package instructions. Another option is to use a synthetic slow-release fertilizer like Osmocote, which releases nutrients over time and can last up to four months.
Creating a good soil mix for your kale containers might seem like a lot of work, but it's well worth the effort. With a little bit of time and attention paid upfront, you'll be rewarded with healthy plants that will produce an abundance of fresh, nutritious greens to enjoy all season long. So go ahead, get your hands dirty, and start mixing!
Planting Kale Seeds or Seedlings
Getting Started with Kale Seeds
Are you ready to start planting kale seeds in your containers? Great!
First, make sure to choose high-quality seeds from a reputable source. We have high-quality heirloom seeds at a fraction of the price of other online stores.
When planting kale seeds, it's important to get the spacing just right. Crowded plants won't grow well and may suffer from disease or pests.
Aim for spacing of at least 12 inches between plants in all directions. To plant the seeds, simply poke small holes in the soil with your finger or a pencil.
Drop one seed into each hole, then cover with soil and gently pat down. Keep the soil consistently moist until the seedlings emerge.

The Pros and Cons of Starting with Seedlings
Planting kale seedlings instead of starting from scratch can be tempting - they're already partially grown! But there are pros and cons to this approach.
On the plus side, seedlings are less vulnerable to pests and disease than newly sprouted seeds. They also have an established root system that can help them better handle transplant shock.
However, buying seedlings can be expensive compared to starting from scratch with seeds. And if you're not careful, you could introduce pests or diseases into your garden via purchased seedlings.
Transplanting Kale Seedlings into Containers
If you've decided to plant kale seedlings in your containers, here's what you need to know about transplanting them: - Make sure your container has enough space for each plant - aim for at least 12 inches between them.
- Water the soil thoroughly before transplanting. - Gently remove each seedling from its original container (use caution not to damage the roots).
- Dig a hole in the soil of your container that's just deep enough to accommodate the seedling's root ball. - Place the seedling in the hole and fill it in with soil.
Gently pat down around the base of the plant to remove air pockets. - Water thoroughly after transplanting.
Lacinato Kale Seeds
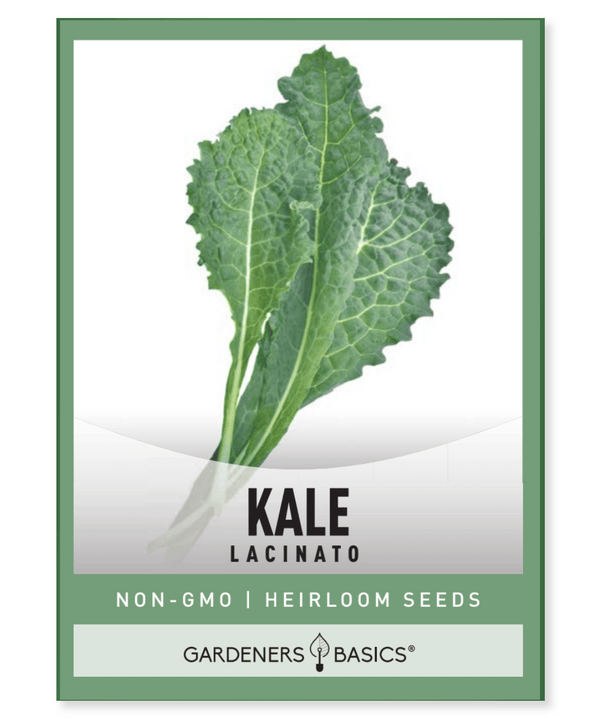
$2.49
Lacinato Kale Seeds – Heirloom, Non-GMO, Non-Hybrid, Open-Pollinated | Planting and Growing Guide Elevate your garden with Lacinato Kale seeds, a must-have for any home gardener seeking nutrient-rich leafy greens! Also known as Dinosaur Kale, Tuscan Kale, or Black Kale,… read more
Watering Techniques and Frequency
Kale plants need consistent moisture to thrive but don't want to be constantly waterlogged. Here are some tips on watering your kale plants in containers:
- Check soil moisture regularly by sticking your finger about an inch deep. If it feels dry, it's time to water.
- Water deeply and slowly, ensuring water reaches all parts of the container (but don't let it pool on top). - Aim for a watering frequency of about once weekly, but adjust as needed based on weather conditions and plant growth.
- Avoid overhead watering if possible - this can lead to disease problems. Instead, use a drip system or water at the soil level.
Caring for Kale Plants in Containers
Sunlight, Water, and Nutrients: The Holy Trinity of Kale Growing
To maintain healthy kale plants in containers, you must provide them with the holy trinity of sunlight, water, and nutrients. Kale plants require at least six hours of sunlight per day to thrive. So, place your containers in an area with plenty of direct sunlight.
When watering your kale plants, be careful not to overwater them or let their soil dry completely. The best way to determine when your kale needs watering is by sticking your finger about an inch deep into its soil.
If it feels dry at that depth, give it a good watering. Kale plants need a lot of nutrients to grow healthy and strong.
You can provide these nutrients by adding organic matter, such as compost or manure, to the soil mix before planting your seeds or seedlings. Additionally, consider using a liquid fertilizer once every two weeks during the growing season.
Controlling Pests and Diseases: It's a Dirty Job, But Someone Has To Do It
If you're growing kale in containers, chances are you're doing so because you want fresh produce free from harmful chemicals and pesticides. However, this also means you must exert extra effort when controlling pests and diseases.
One common pest that affects kale plants is aphids. These tiny insects suck on the sap of your plant's leaves and can cause them to turn yellow or curl up.
To control aphids on your kale plants, spray them with water and dish soap once every few days until they disappear.
Another common issue that affects kale plants is fungal diseases such as powdery mildew or downy mildew.
Both diseases can be prevented by keeping your kale plants dry and well-ventilated. If you notice any signs of these diseases on your plants, consider removing the affected leaves and spraying them with water and baking soda.
Companion Planting: Kale's Best Friends
If you want to keep pests away from your kale plants while providing them with extra nutrients, consider companion planting. Certain plants are believed to repel pests or attract beneficial insects to help your kale grow stronger.
For example, planting garlic or onion plants near your kale can help repel aphids and other pests. Additionally, planting herbs such as thyme or oregano near your kale can attract pollinators such as bees which will help increase the yield of your plants.
Don't Be Afraid to Prune: A Little Bit Goes a Long Way
Pruning may seem counterintuitive when growing healthy plants, but a little pruning goes a long way regarding kale in containers. Removing yellow or damaged leaves from your plant every few days can encourage new growth and prevent diseases from spreading.
Additionally, pruning can help control the size of your plant, which is important when growing in containers with limited space. Ensure not to remove too many leaves at once, which could stress the plant and affect its growth.
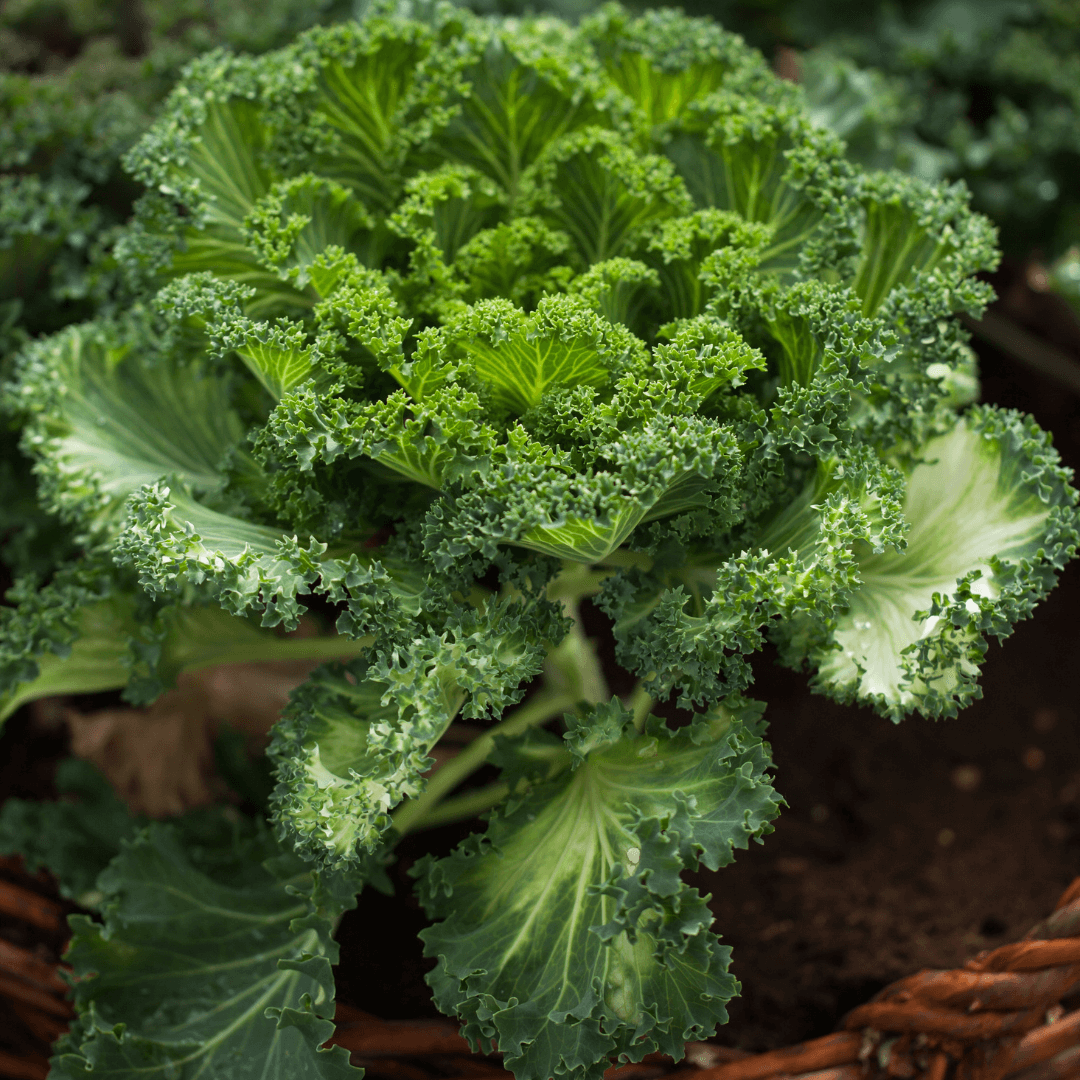
Harvesting Kale from Containers
When to Harvest Your Kale Leaves
So you've successfully grown kale in your container, and now it's time to harvest those nutrient-rich leaves. But when is the right time to do so? It all depends on your kale leaves' size and maturity level.
First, let's talk about size. You want to ensure that your kale leaves are big enough to be worth harvesting.
The ideal size for harvesting kale leaves is 8-10 inches long. Any smaller than that, and you won't get much yield for your effort.
But don't wait too long either, or the leaves will become tough and bitter. Maturity level also plays a role in determining when to harvest your kale leaves.
As a general rule of thumb, you should wait until the bottom leaves have reached full maturity before harvesting any upper leaves. This ensures that the plant continues growing and produces more delicious kale greens.
How to Store Harvested Leaves Properly
Once you've harvested your beautiful kale greens, you'll want to store them properly so they stay fresh as long as possible. Here's what I recommend:
4) Place them in an open plastic bag or container with some air holes punched in it.
Conclusion - How to Grow Kale in Containers
Growing kale in containers is an excellent way to enjoy fresh, nutritious greens without wasting too much space or breaking the bank. By choosing the right container, preparing a nutrient-rich soil mix, and caring for your plants properly, you can reap a bountiful harvest of delicious kale greens all year round.
Remember to harvest your kale leaves when they reach the optimal size and maturity level, and store them properly to ensure maximum freshness. You can become a thriving urban gardener with little effort and patience.
So go ahead and get started on your own container garden today! Your taste buds (and probably your body) will thank you for it.
 Frequently Asked Questions about How to Grow Kale in Containers
 Frequently Asked Questions about How to Grow Kale in Containers
1. What type of container should I use to grow kale?
Kale can grow in any container with sufficient depth and width to accommodate its root system. Choose a container at least 12 inches deep and 18-24 inches wide.
2. What kind of soil is best for growing kale?
Kale prefers well-draining soil. A good-quality potting mix that's rich in organic matter will work best. You can enhance the soil with compost or a slow-release granular fertilizer to ensure it gets the nutrients it needs.
3. How much sunlight does kale need?
Kale needs at least six hours of sunlight per day. However, in hotter climates, partial shade during the afternoon can help prevent the plant from wilting.
4. How often should I water my kale?
Water your kale when the top inch of the soil feels dry to the touch. Be sure not to overwater, as soggy soil can lead to root rot.
5. How long does it take for kale to grow?
Depending on the variety, kale typically takes about 55-75 days to mature from seed to harvest. You can begin harvesting leaves when they're large enough to eat.
6. When should I harvest kale?
Kale can be harvested once the leaves reach a desirable size. Harvesting the outer leaves first allows the center of the plant to continue growing. Remember, the leaves are tastier and more tender when harvested young.
7. Can I grow kale indoors?
Yes, you can grow kale indoors if you can provide it with at least six hours of sunlight or artificial light. Ensure the plant is in a cool room, as kale prefers cooler temperatures.
8. Can I grow kale in the winter?
Kale is a cold-hardy plant that can tolerate frost and even snow. In fact, exposure to frost can actually enhance its flavor. However, it may need protection during harsh winters.
9. Can I grow kale from scraps?
Yes, you can regrow kale from scraps. After harvesting, leave the bottom 2 inches of the stem, place it in a shallow water dish until roots appear, and then plant it in the soil.
10. Do I need to fertilize my kale?
While kale can grow in relatively poor soil, a balanced vegetable fertilizer can help promote growth. It's recommended to fertilize at least once midway through the growing season.